
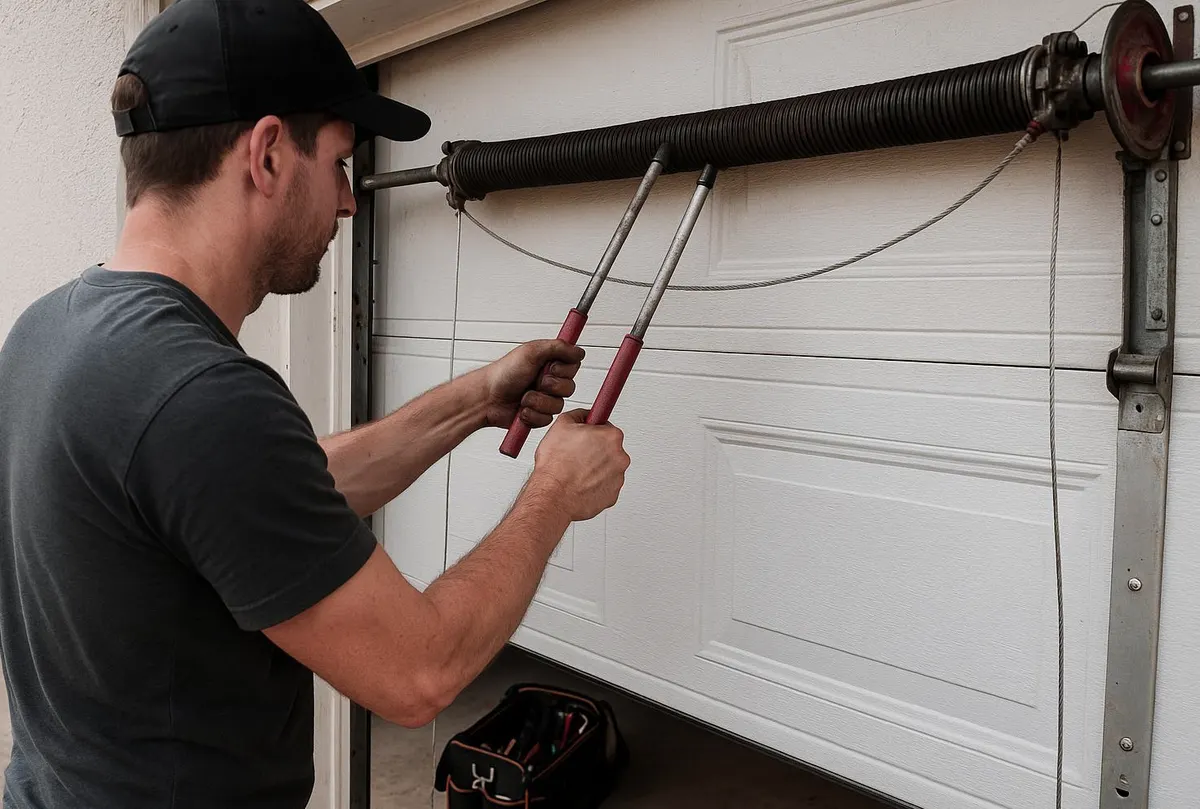
What We Find on a Typical Service Call
A homeowner calls about a draft in the garage, or a trail of dust and dead leaves along the inside wall, or worse, a damp line on the concrete after a heavy rain. Nine times out of ten, the culprit is sitting right there at the bottom of the door: a bottom seal that's cracked, flattened, or torn in a dozen places. On older homes it's often brittle rubber that's hardened from years of summer heat. On newer builds, it's sometimes a seal that was never matched to the track style, so it never sat flush to begin with. Either way, the fix is one of the cheapest and most overlooked repairs in the garage.
Why This Matters More Once the Weather Turns
A gap under the garage door doesn't just let in cold air. It's an entry point for wind-driven rain during coastal storms, for mice and spiders looking for a dry place once temperatures drop, and for fine dust and pollen the rest of the year. Once winter brings ice and freeze-thaw cycles, a bad seal lets meltwater creep under the door and refreeze overnight, which can crack concrete and jam the bottom edge of the door itself. Side and top weatherstripping do similar work along the jambs and header, closing the thin gaps that let light, air, and water sneak through around the frame. Fixing both before the cold settles in is far easier than dealing with a frozen or water-damaged door in January.
Tools You'll Need
- Replacement bottom seal (bead, bulb, or T-style — matched to your existing track)
- Adhesive-backed weatherstripping for the side jambs and header
- Tape measure
- Utility knife
- Rag and rubbing alcohol (for cleaning surfaces before adhesive strips go on)
- Flashlight
- Silicone-based lubricant (not grease) for the new seal's contact point
Step-by-Step: Replacing the Bottom Seal
- Close the garage door and, if it's connected to an opener, disconnect the opener or set it to manual so no one accidentally triggers it while you're working.
- Measure the full width of the door and check the shape of the existing track channel — seals come in different profiles, and the wrong one won't stay seated.
- Pull the old seal out of the aluminum retainer track by hand, working from one end to the other. It usually comes out easier than it looks, even when brittle.
- Clean out the track with a rag, removing dirt, old adhesive, or bits of broken rubber.
- Feed the new seal into the track starting at one end, pushing it along the full length until it's seated evenly.
- Trim any excess length with a utility knife so the ends sit flush with the door edges.
- Reconnect the opener and run the door through a full cycle, watching how the seal compresses against the floor.
Step-by-Step: Side and Top Weatherstripping
- With the door closed, measure the height of both side jambs and the width of the header.
- Clean the jamb surfaces with a rag and rubbing alcohol so the adhesive has something solid to grip.
- Peel the backing off the weatherstripping in short sections and press it into place, working from one end to the other rather than trying to lay the whole strip at once.
- Press firmly along the full length, then close the door against it to set the final shape.
- At night, have someone stand outside while you shine a flashlight around the door frame from inside with the lights off — any light sneaking through marks a spot that still needs attention.
What's DIY and What Needs a Technician
Replacing a bottom seal or adding adhesive weatherstripping is a reasonable weekend project for most homeowners — it takes basic tools, no special skills, and typically under an hour. Where it gets more involved is when the seal keeps tearing within a few months of replacement, the door doesn't sit level against the new seal, or there's a visible gap on one side but not the other. Those symptoms usually point to a bent track, a door that's come out of alignment, or an uneven slab — none of which get fixed by swapping rubber. Anything involving the springs, cables, or opener mechanism also falls outside the scope of a seal job and carries real injury risk if attempted without the right tools.
When to Call Selbyville Garage Door Repair
If you've replaced the seal and still feel drafts, see daylight around the edges, or notice the door closing unevenly, it's worth having it looked at properly. Our Garage Door Maintenance visits include checking the track alignment, roller condition, and seal fit together, since a seal problem is often a symptom of something else going on with the door. If the track itself is bent or the panel is sitting crooked, that falls under Garage Door Repair, and it's a quick fix once we're on site with the right equipment.
If your garage door is leaking cold air, water, or unwanted visitors this season, call Selbyville Garage Door Repair. We serve homes and businesses throughout Selbyville, DE and the surrounding Sussex County area, and we're happy to take a look before winter settles in for good.